Router table updates We have a TOP!
Ultimate Router Table Top
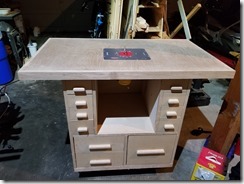
Finally got around to making the top for my ultimate router table, and it looks fantastic! 🎉
- The top consists of two layers of 3/4” MDF with a 1/4” birch ply on top for a nice finish.
- The banding is 3/4” Oak, mitered at the corners.
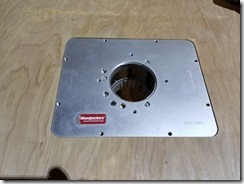
- The table insert that holds the router is a high-quality 3/8” aluminum plate called the Woodpeckers Precision Woodworking Tools AI690890 Router Mounting Plate. It has several great features:
- Different sizes of inner rings
- A starting pin
- Gauges on each side
- Leveling pins for precise alignment with the top
Adding the oak banding was a bit challenging, but it looks really nice. I used a block plane to level it flush with the top.
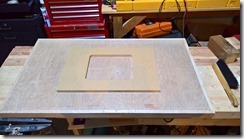
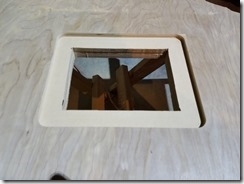
To cut the inset for the router plate, I used a template also sold by Woodpeckers. I used a 3/4” Diablo straight template bit with a length of only 3/8”. Any longer, and it would have been tough to do.
Then I just added the plate, leveled it up, and voilà!
Next steps are to make the fence and add the miter track.
Ultimate Router Fence
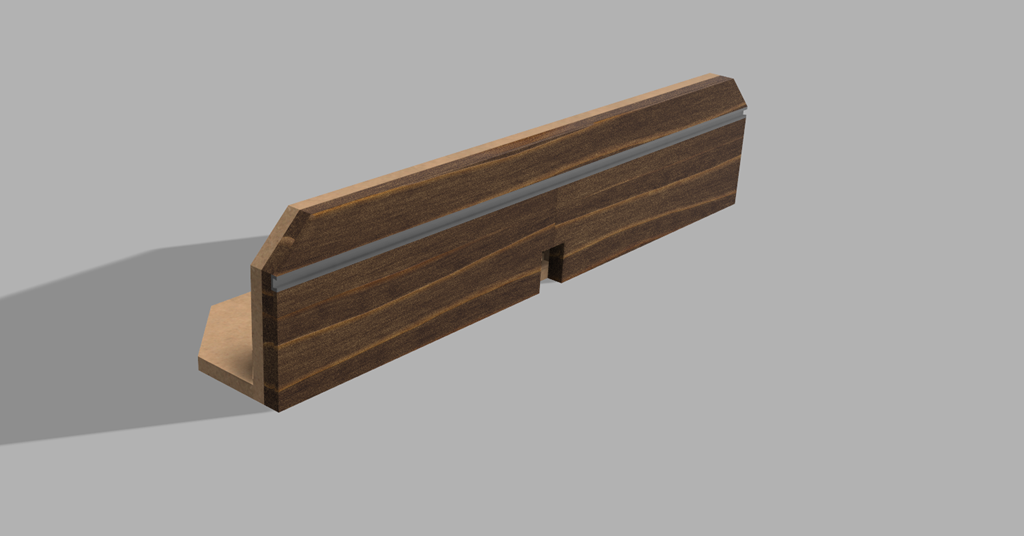
I’ve been playing with Autodesk Fusion 360, having fun with components. This is what I want my router table fence to look like when complete. I actually took a sheet of MDF, drew it in a sketch, then ‘cut’ it into pieces as components. The front will be 1/4 birch ply to give it a nice look, and there’s a hole at the back for dust collection. The bottom section of the front will be able to slide open a bit to allow for larger bits, although I didn’t draw in the knobs to show this.
Stay tuned!
