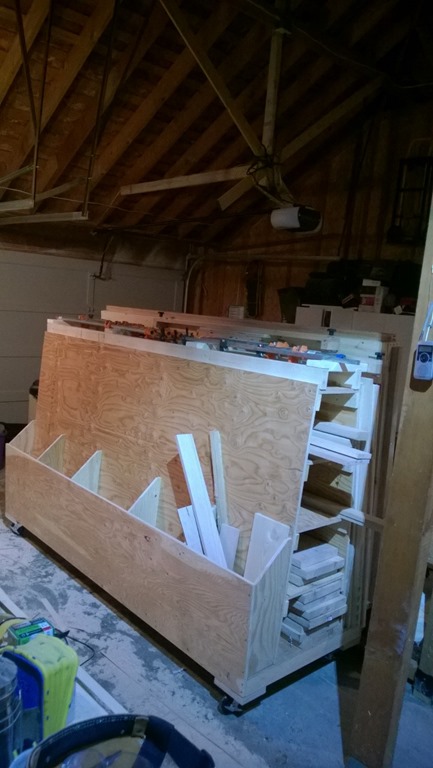
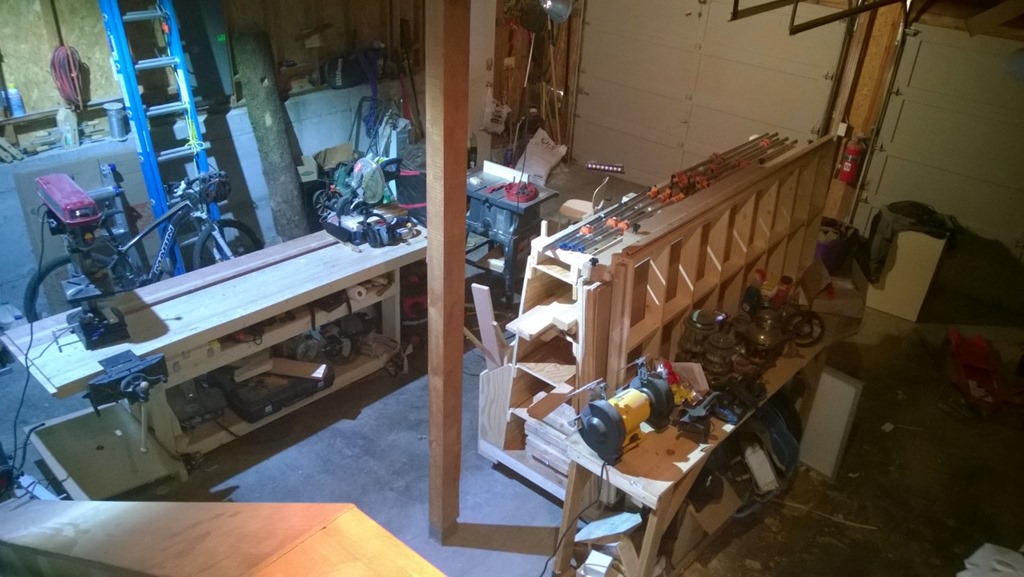
Rolling woodcart with Panel cutter
Total cost: ~$530
Since moving into the new house, I’ve been doing a bunch of woodworking projects, and the amount of clutter has increased accordingly. I came across a free supply of 2x4 & 2x8 that I’ve stored on the Shop Dogs I made previously. This takes up a lot of room, and I’m always having to walk around it. So I decided to look for a way to store this wood, that would be easy to store, and keep out of the way of my working in the shop. After researching different designs, and looking through many a wood working magazine, I came across a nice design for a wood rack at shop notes that fits the bill nicely.
- stores wood on different shelves
- bins for cut offs and separation of types of pieces
- storage area for panel sheets (plywood)
- on rollers to move out of the way easily.
- Bonus Panel cutter!
This one even has a nice additional project for making a panel cutter that can be attached to the rolling cart. Everyone knows how much of a pain cutting full sheets of plywood is, and this ‘jig’ makes it a breeze!
First I decided to start with the panel cutting jig since the cart would be made from 5 sheets of plywood, and the jig would come in handy for cutting out each piece of the cart.
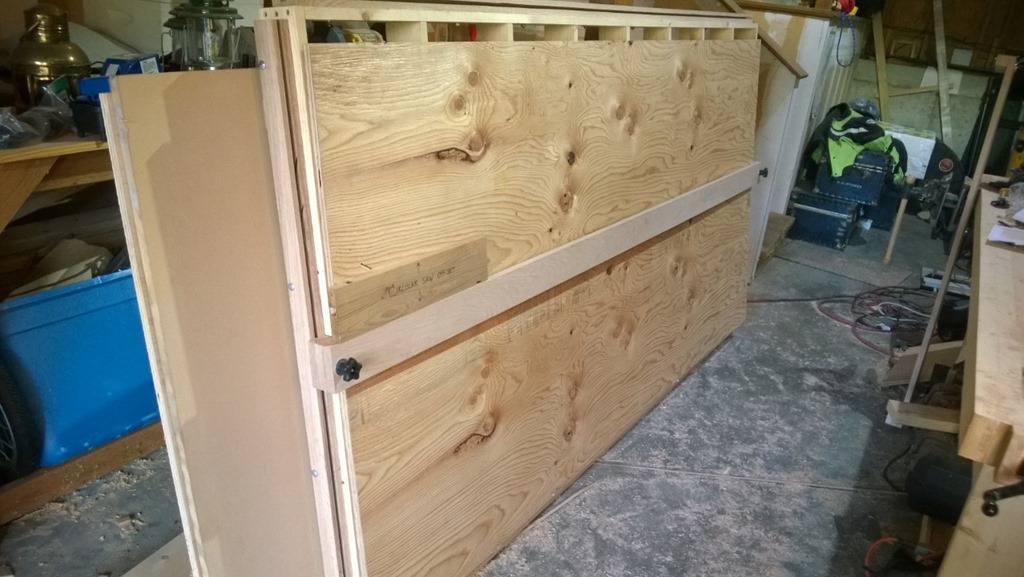
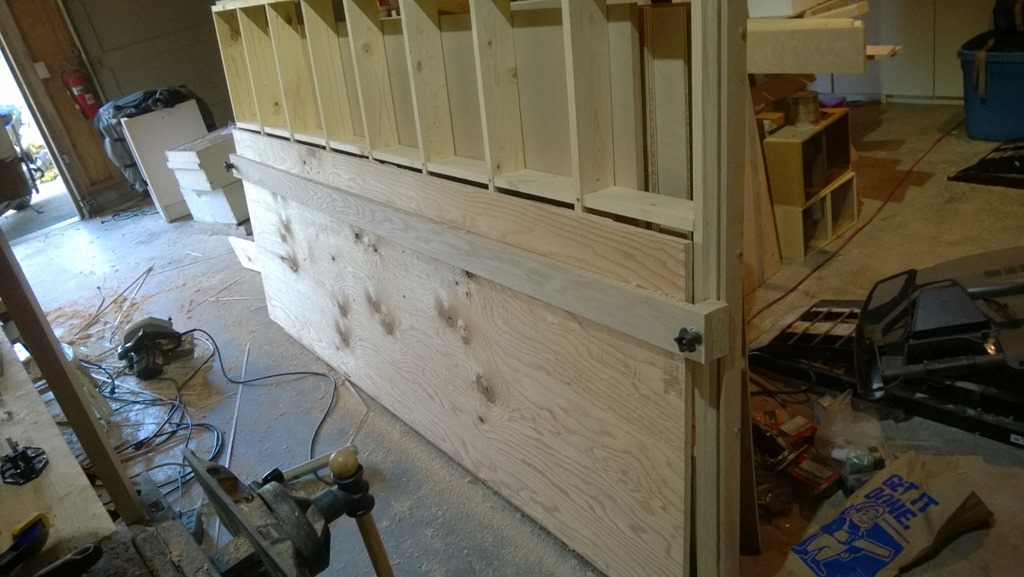
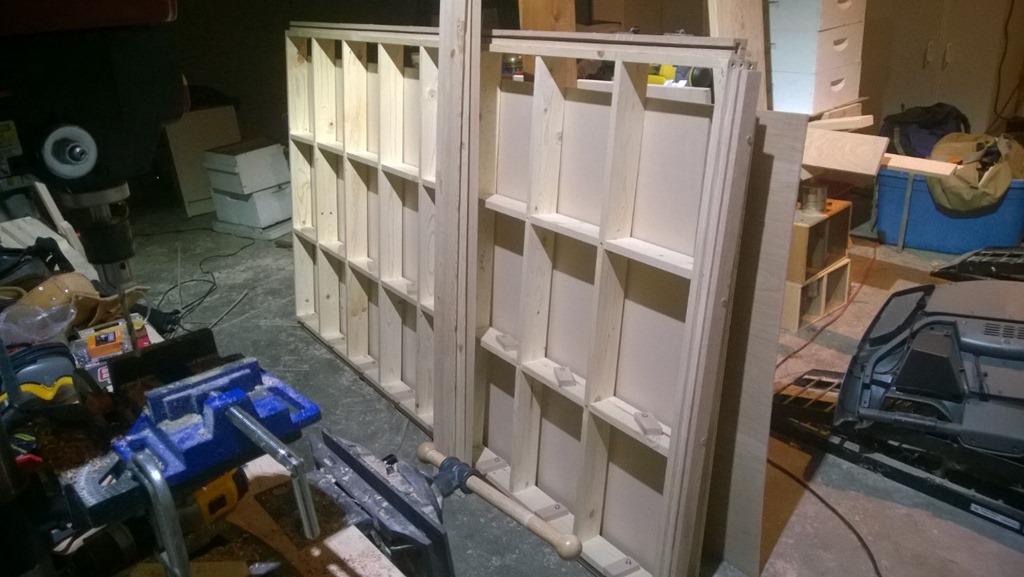 The panel cutter conceptually is like a drafting board, with a pair of rails setup for a vertical cut, as well as a pair for horizontal cuts. The rails are used to guide a fence in parallel across the sheet. The fence once locked in position would be used to guide a circular saw to easily make a straight cut through the material.
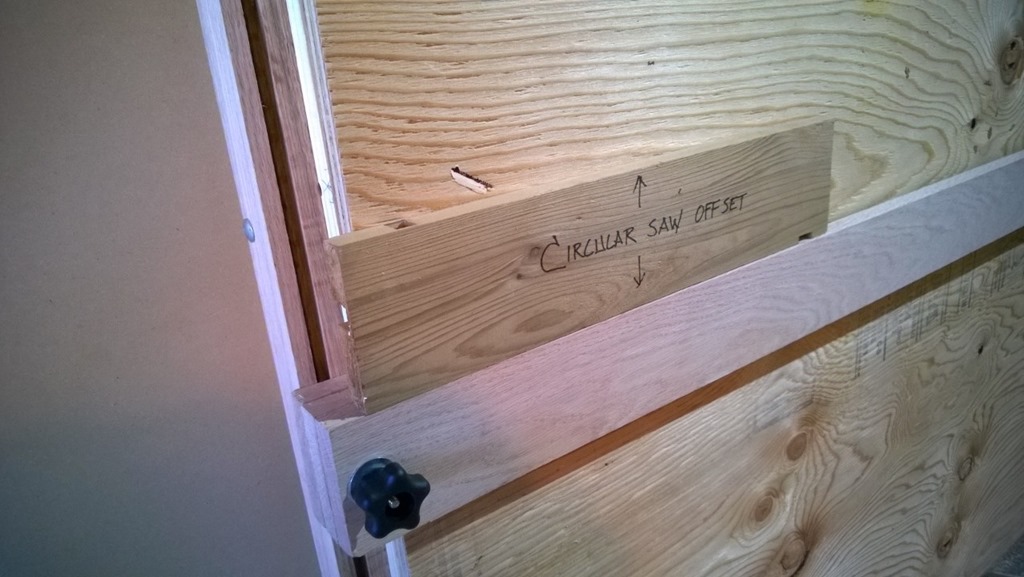
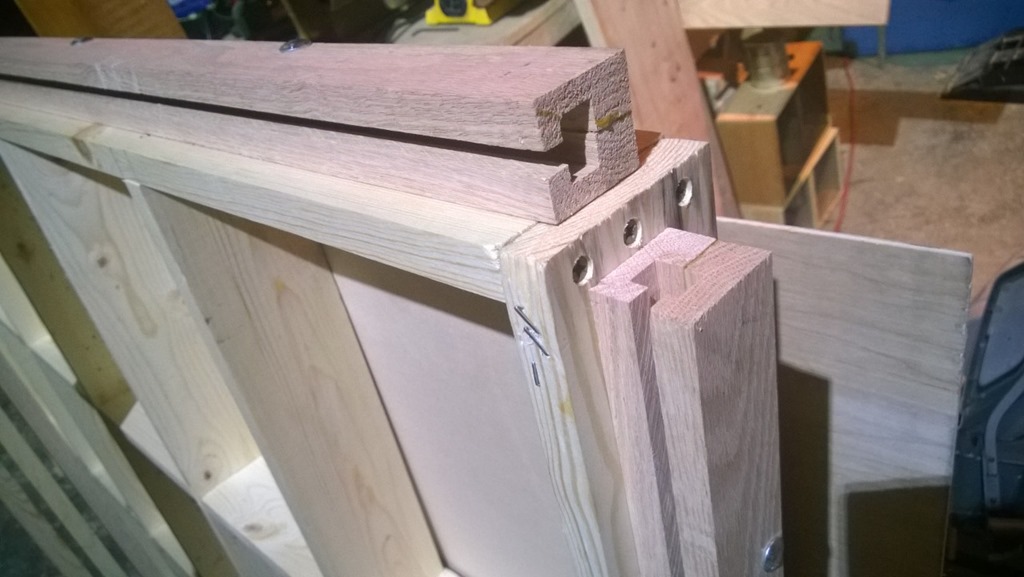 The rails act exactly like T-Tracks and the fences have a metal T attached to a start knob to tighten the fence into place. I cut these rails out a bit differently than described by the author. To add safety to cutting the dado out, I cut the dado on both sides of the full sheet of 1x6, and trimmed the lip off before I ripped it in two. Handling a 1x6 in the table saw is much easier than the 1 1/2” pieces. I also made the dado a bit deeper than asked, so that the fence would move that much easier in the track. Another unfortunate situation is that the dimension given for the fence is 1/4” longer than what it really should be, and following directions to place the T rod on the end will make it so that the rail will not accept the T on the fence. I calculated this, but then for some reason decided to trust the author…This means I had to redrill the hole for the Tbolt, making it a slot instead, but this still works perfectly fine.
 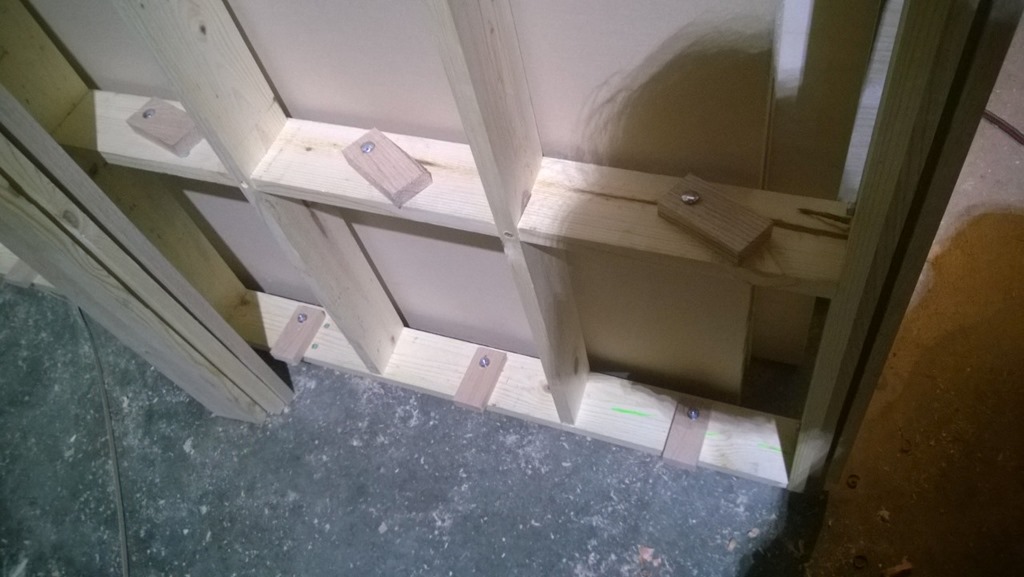 A panel to be cut would be supported by these small blocks that extend 3/4”
 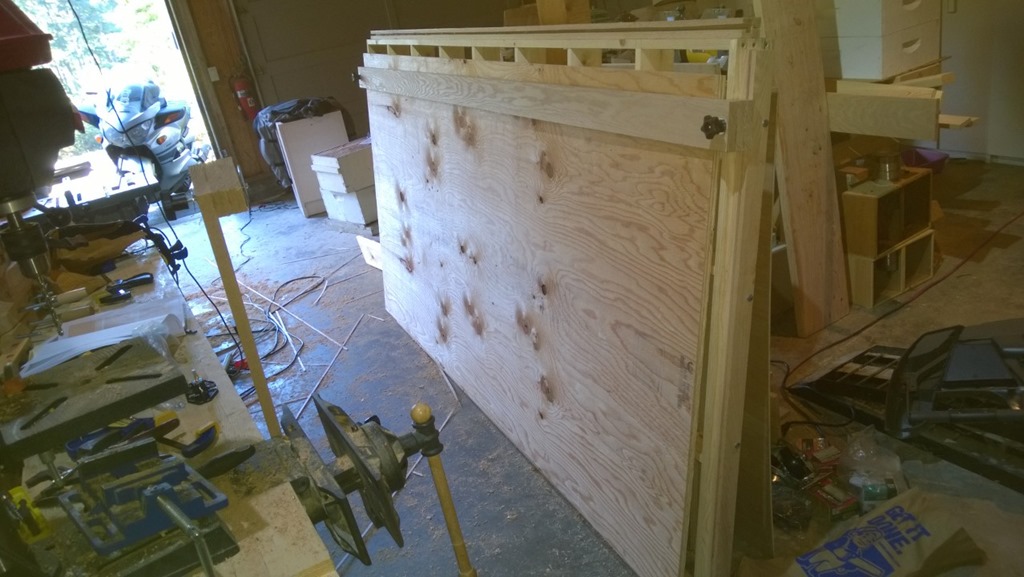 After the panel is in place, one of the fences would be placed in the rails, and moved to a measured mark where a cut is to be made.
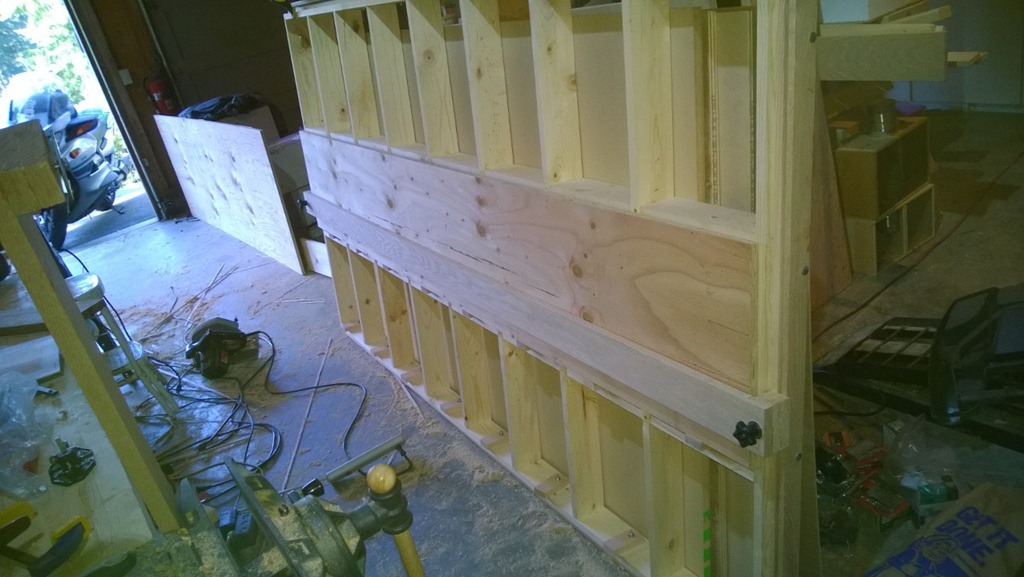 | Extending the blocks at the halfway hight of the jig will allow a panel to be placed at this level that is smaller than a full sheet. |
| Then the smaller sheet can also be divided vertically with the other fence in a similar manner to cut it to length. | 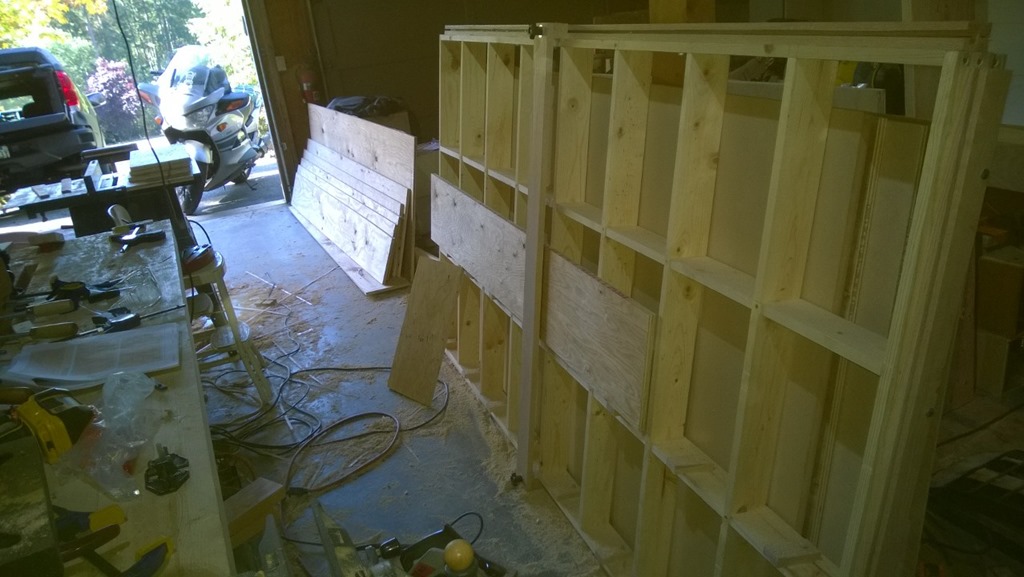 |
After this panel cutter is complete… time to use this mutha-cutter! The tower of wood roll around rack takes FIVE sheets of plywood, so this will give our new panel cutter a good workout. With out the panel cutting jig, this would take forever, a cumbersome setup of sawhorses, and more dangerous cuts (due to reaching out across the sheet layed out on the horses). Instead due to the jig, cutting all five sheets to the required pieces took only 10min!
[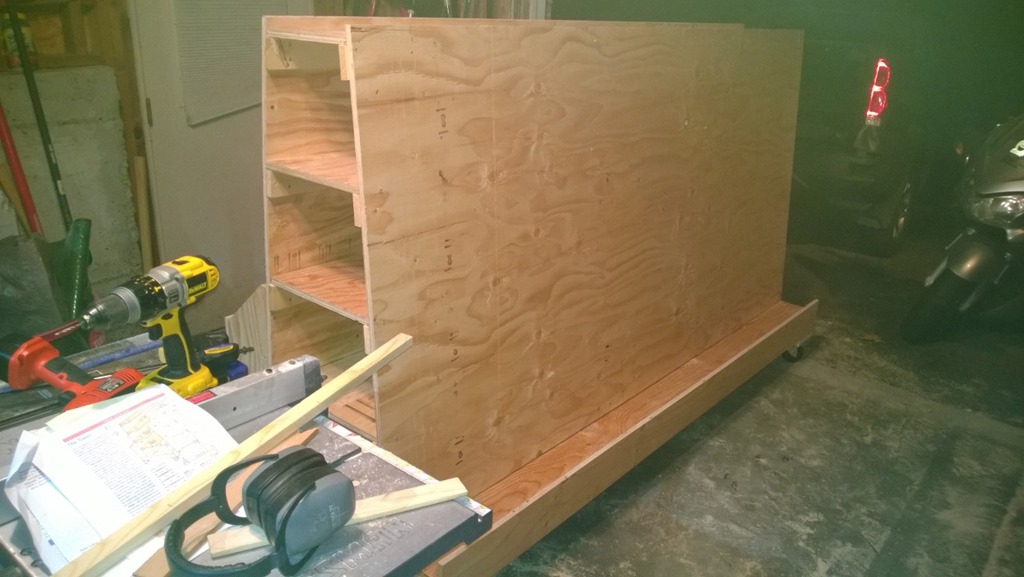 I did not take incremental pictures of the build up of the tower…
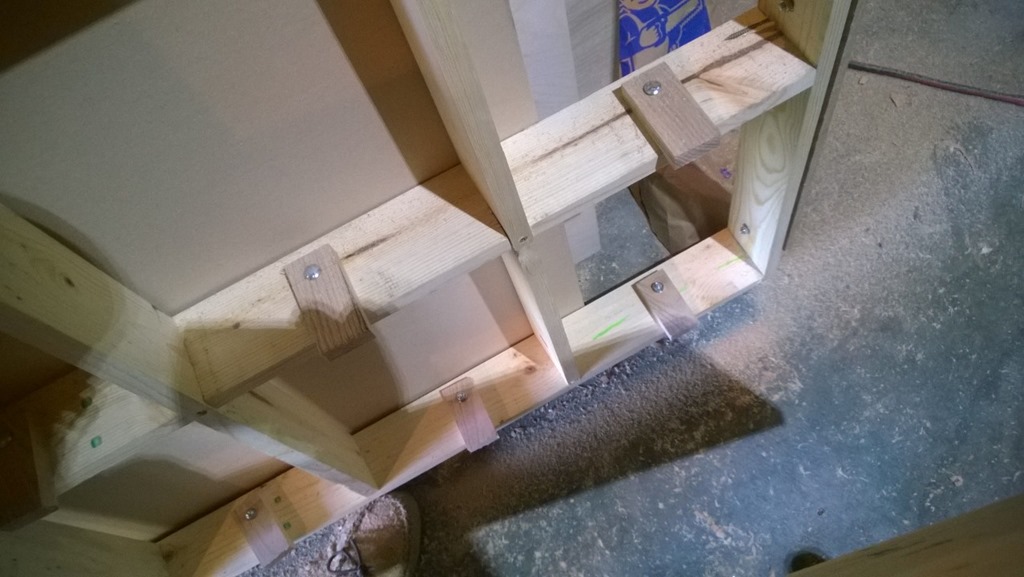
 ![]() sorry. It was quite easy to complete but again I noticed an issue with the wheel blocks that I decided unwisely to trust the designer. Instead, you should do what I had to do later, which is beef up the support for the wheels with an additional cross braise. I made mine from a 4x4 so it would hold a considerable amount of weight.
sorry. It was quite easy to complete but again I noticed an issue with the wheel blocks that I decided unwisely to trust the designer. Instead, you should do what I had to do later, which is beef up the support for the wheels with an additional cross braise. I made mine from a 4x4 so it would hold a considerable amount of weight. 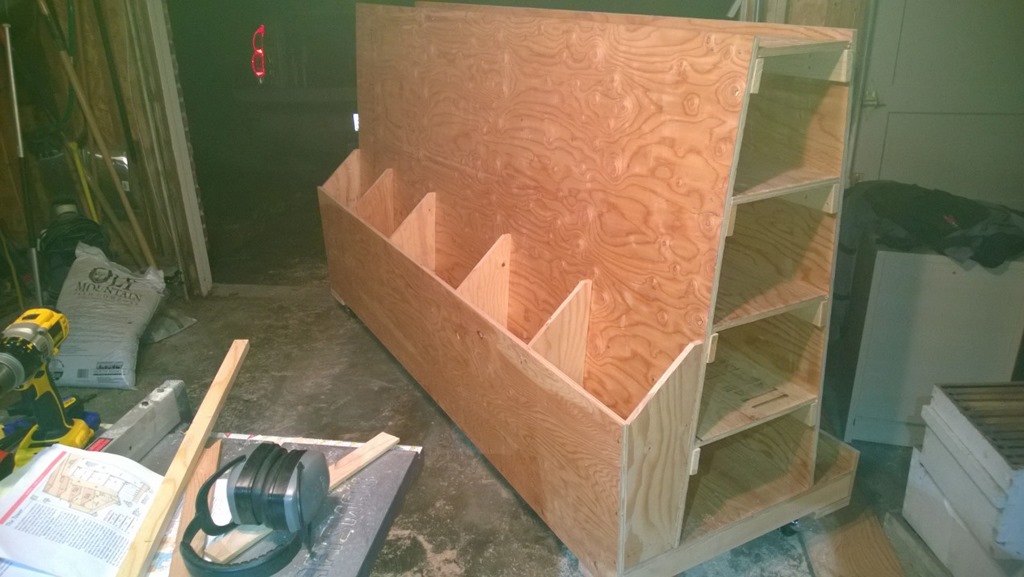 The bins in the design are rounded, but I saw no advantage to this, and decided not to bother with it, but you may enjoy the look better. The wheels I decided on lock nicely and support 300lb each, this thing is quite beefy, but moves very easily.
 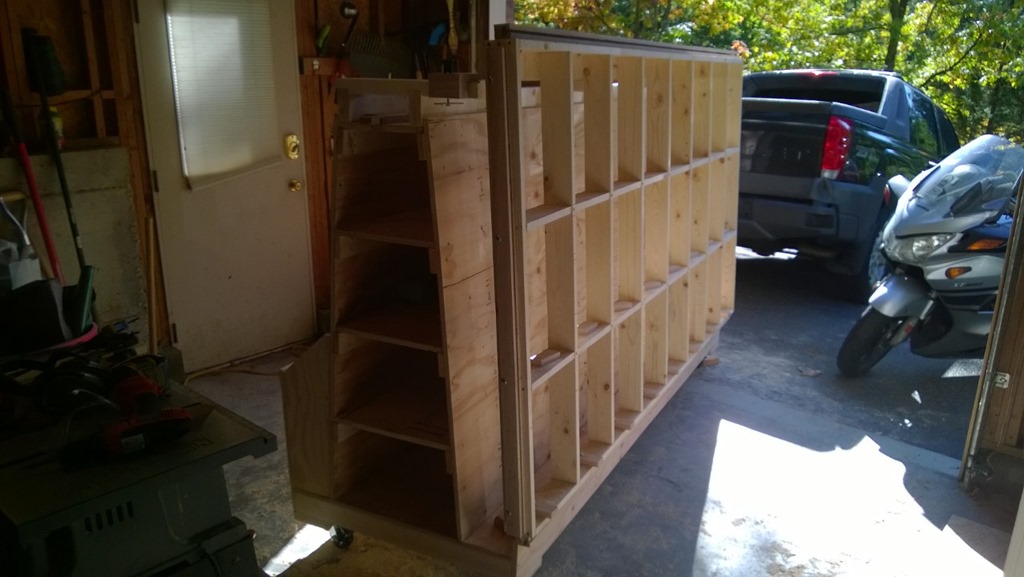 Next step was attaching the panel cutter to the tower, which requires a set of four braces along the top that extend 6” out. The jig is attached to these braces with hinges. Balancing the jig on the braces as you place the hinges in was surprisingly easier than it would appear.
 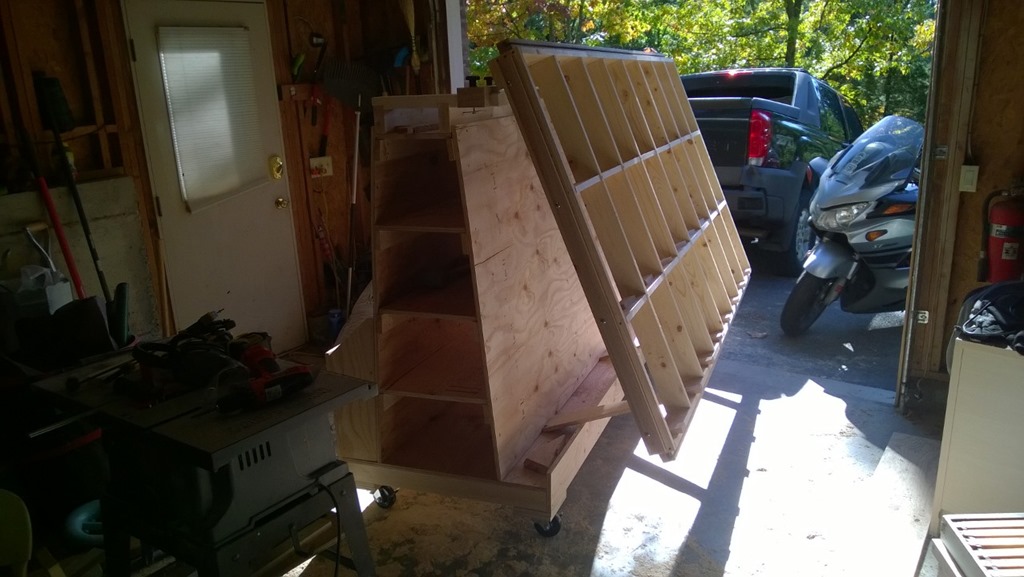 With the jig attached on the hinges, you can extend the jig out with additional bottom braces to allow for a more comfortable angle for cutting.
The tower holds a very large amount of wood and weight. As you can see in the final pictures below, it is loaded up with 7-2x12’s an assortment of other 8’ nominal pieces, 5 pieces of plywood and MDF. As well I used the top of the tower to hold all my pipe clamps, which is nice since the tower is centrally located it keeps these close.
I am very pleased with both the design, functionality and portability of the tower. Although I balked at the price of materials, I totally love the shop addition and would not want to work with panels without it, and it makes the storage of wood soo much nicer and accessible. 10/10 would do again.
CHEERS!

