Honey Do: Garage Door Opener x 2
This post is part of the “Honey Do List” series. We bought a house on 3/1/2014, and I started a list of things that I’d like to be completed; both fix-it type and desired projects. You can see the full list, and links to previous posts there.
If you ever want more detailed pictures of the finished project, or explanation on how something was completed, feel free to ask in the comments.
Project Completed 2014/03/29
The house for some reason only had one garage door opener, in a two door garage. Not sure why this was, maybe they used one side only for storage. However, we planned to utilize the vertical space in this area since the garage ceiling is twice as high as a normal garage. So I wanted the ability to open both with out straining my weak muscles.
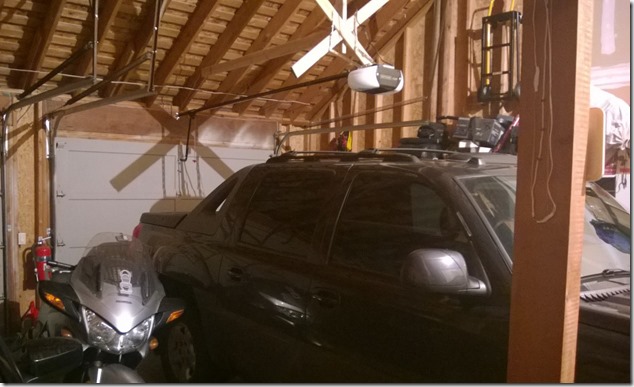
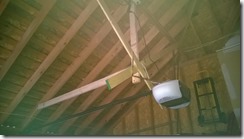
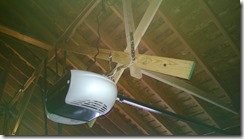
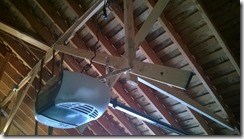
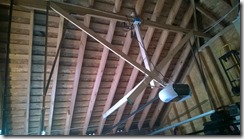
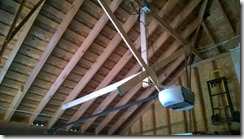
Normally a opener is mounted to the ceiling or joists directly above the garage door rails, which are also usually mounted to similar locations. However, in this house, the garage is a double height, so the rails are suspended from angle iron (lengths of metal) which are bolted to the rafters of the roof above.
Below are some pictures of the setup, and explanations of each. I have not included many instructions, so please comment to add questions for any additional information you might have.
Enjoy!
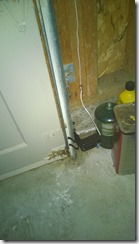
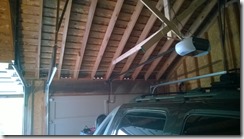
This is the best view of the entire project (minus the door controls) the wires coming down the 4x8 column were there for the existing door, so I also ran the control wires down this column and back. This is so that I can add future switches for the doors to be opened from the middle of the garage.
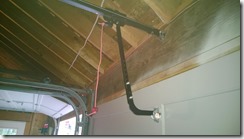
Below is some additional shots of the opener as it is hung from the framework I constructed. It is very stable, and moves very little.
