NOTE This is a Word Press Archive Post: Some of my posts from my original blog on WordPress have not been completely vetted for errors on this site. I am actively working, albeit slowly, on verifying these posts. Some may contain either missing images or broken links. Please bear with me while this transition is taking place.
This is our deck stairs (seen from the view of our cat looking at her boyfriend sitting on the top step.)
There’s a few things we didn’t like about these steps: - They bounce like a trampoline when you use them, due to really needing a middle stringer to support the width.
- You can see through them to the deck foundation and ground beneath. not pretty.
- the front edge of steps bends down uneasily when you step on it, due to the steps being a bit longer than the run of the stringer, so the last board of the step is not fully supported. This is also causing that board to crack.
I’ve decided to add the needed stringer, and make riser boards to both hide the under view, and support that last step board. | 
|
I removed the first steps boards, mostly to use as a set of saw horses. Then I measured the rise/run of each step, because the first and last were different from the other 4. The contractor that built the original stringers didn’t make them all even, and even worse, the top riser was miscalculated, so they added a strip of wood to make up the vertical difference at the top.
I made my stringer to match, out of a 8’ cedar 2x10 but accommodated a 4x4 at the bottom that I would use to rest my stringer on. After cutting out the stringer, I removed the rest of the steps, except the top, and tested the stringer to fit.
I then used the original Brazilian Rosewood Oil Stain to seal and stain the stringer, and left it to dry. Then it was placed in the center, toe nailed into place on top and bottom. | 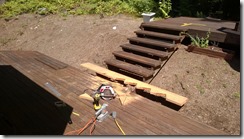 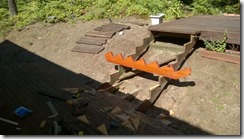 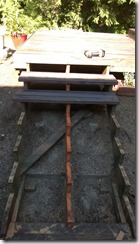 |
| The original steps were screwed back down. Testing this out, it works much nicer, but the step front still bends forward unsupported. | 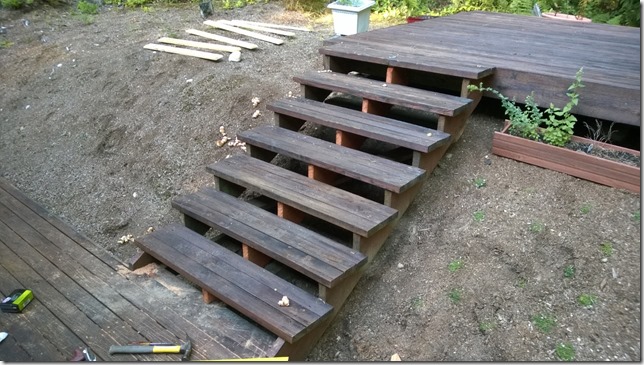 |
to make the risers, I cut 8’ cedar 1x6s into 42” lengths, and beveled the ends to 30 degrees just for a nice look.
I also decided to add decorative fluting to the risers. So I used some scrap wood to create a jig to add three 3/8” round nose routed flute lines.
The jig works simply by routing the first line by placing the riser against the lower strip that is flush with the top of the riser, then using the single fence strip that is slightly taller to hit the router base. Right/left stops are the 2x4s on either side.
Then to route the next lines you simply add a new strip each time in front of the original fence.
Made short work of all 6 risers. | 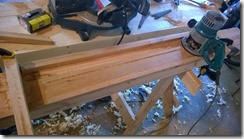 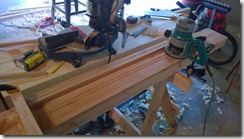 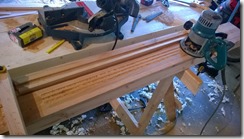 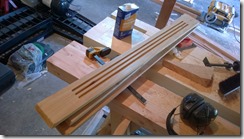 |
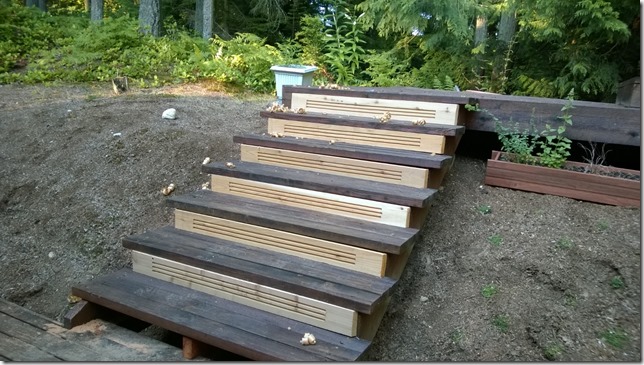
I took them out, and used a hand plane to snug fit then in to the differing heights of the riser steps, and dry fitted them in place. These risers will help support the step board above, and reduce that bending feeling.… looks nice!
On to staining the deck!
|  |
| And after the stain, it looks golden risers on a dark background… nice contrast, right? | i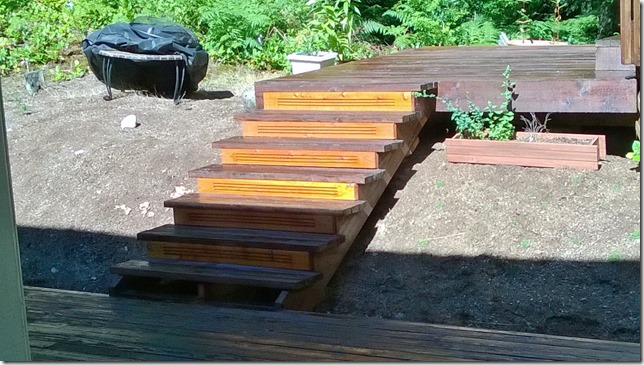 |


