Ergonomic Desks (ver 1.0 and 2.0)
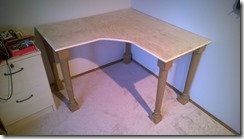
Preview of ErgoDesk 2.0:
ErgoDesk 1.0
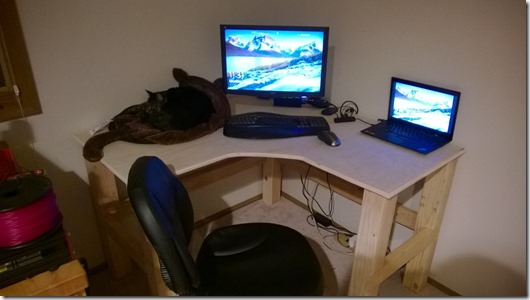
I’d made one L-shaped desk for myself using birch ply top and 4x4 pine legs… I even lap jointed the lower supports to the posts. Four l-brackets are the only metal holding this together, yet it is very bomb proof. Barely moves when you slam your head in frustration…
(cat not included)
However, I did think it a bit utilitarian.. the legs are very non creative… I could have done better. The top works great, as the wings support the elbows as you work, and there is plenty of room beside and behind the keyboard for stuff of life.
ErgoDesk 2.0
Next I wanted to make a desk for my wife that had better looking legs (which will match the fact that her legs look better than mine in real life too….).
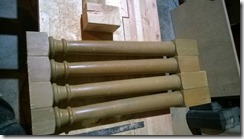
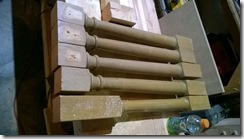 My next door neighbor was tossing some scrap wood from various house renovations, and offered it all to me for fire/scrap. I had to burn most of it, but managed to salvage some very nice pieces I will use in later projects. One of the items was his stair railing and banisters. The banisters have a nice design that I thought I could flip, cut up, and reuse as legs. On stairs these banisters are positioned with the largest diameter at the bottom, but table legs generally look better with a slimming as it goes to the floor. So I decided simply to flip them, making the top the part to sit on the floor.
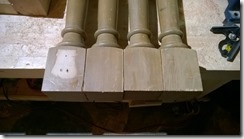
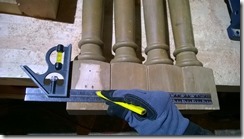
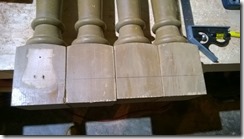
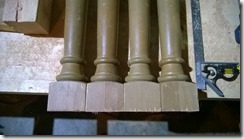
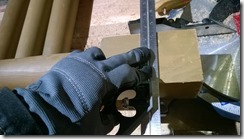
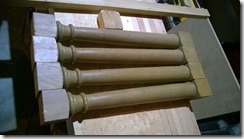
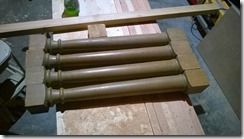
So first step was to make the bases all the same size (as stairs generally have different size banisters). I gauged the size they would need to be by subtracting the middle round section from the overall needed leg length of 30”. This gave me a distance that would be split between the top and bottom. Then I proportioned a larger amount for the top of the leg, which would need to accept the skirt pieces (this is the part of a desk or table that sits just below and supporting the top, connecting each leg to each other) which I was to make from some 2x3 lengths of pine also from the scrap pile. I wanted the top to be bigger, because architecturally, this gives the eye the idea of weight on the top, giving a floating effect, making the desk look more delicate.
Then I simply cut them all to be exactly 30” in total.…
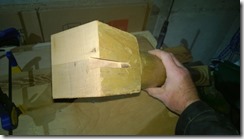
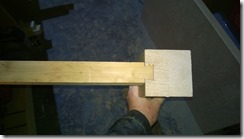
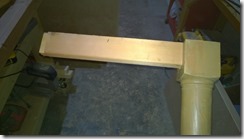
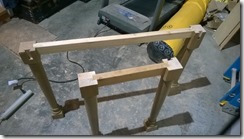
Next was to add the skirt pieces by making dovetail mortise/tenon joint to add much needed strength to the desk since I wasn’t going to have lower supports like in the first desk. This required a dovetail on the ends of the skirt boards to fit into the posts, which I decided to start with the router, and finish with a chisel.
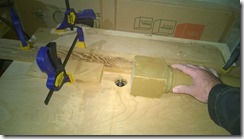
I set a dovetail bit (looks like an ice-cream cone) into the router table, and set it so that it was halfway into a sacrificial fence, exposing just one half of the bit. then set the bit to be just high enough that the whole bit but no more was protruding above the table. Then, using a block to support the back, I put the piece on its end down on the table and pushed it right to left against the fence and through the bit, making a cut on each long side of the piece’s end.
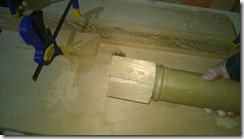
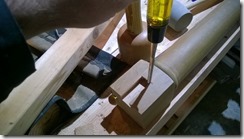
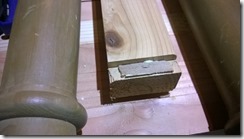
Then to make the mortise on the ends of the posts that this tenon will fit into I used the same bit, but set out from the fence at a distance to meet the middle of the post face. I added a stop block to let me determine how far down the face it should cut as well.
After cutting these out mostly on the table, and being careful to cut them small, so as not to make the mortise too big (a fatal flaw to be avoided!) I finished the fit on the bench with a chisel. Even with my care, one of them was too big, and wobbled all loosely in it’s home. This was fixed by adding a bit of shim to the tail before slipping it in it’s home.
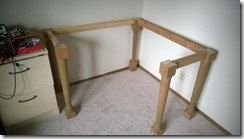
After making sure these all dry fit nicely, it was time to glue them up. I did some in the shop, but finished in the office since it would be difficult to carry the final desk up through stairs and doors… ![]()
Birch top!
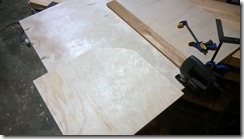
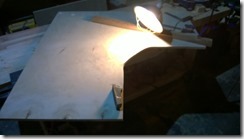
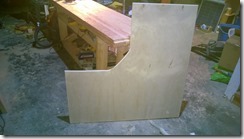
The top was made by cutting 1/2 piece of high quality birch ply. (left over from previous desk) and routing all the edges to round and sanded smooth. I traced the cut from the cut off piece from the other desk as my guide so that they would be exactly alike. After cutting along this line with the jig saw, I used a sureform plane (really rough mesh cutting face) to fix some unwanted bumps made by the jigsaw.
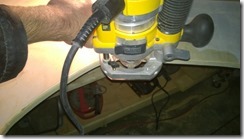
Using a router by hand with a 3/8” round over bit I rounded over the edge on both sides then sanded all edges to make a nice smooth edge.
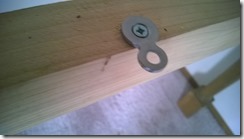
To attach the top, I used one table top fastener per rail of the skirt with some 1-1/4” screws.
Then simply positioned and screwed the top down with 3/4” screws.
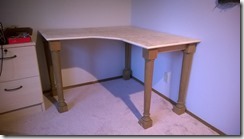
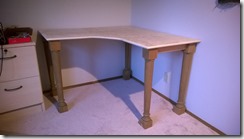
Voila! Ready to be piled high with electronic equipment!
![image[16] image[16]](/assets/img/postMedia/2015/12/image16_thumb.png)

![image[27] image[27]](/assets/img/postMedia/2015/12/image27_thumb.png)

