Building the ‘Ultimate Router Table’ part two–and then there were drawers.
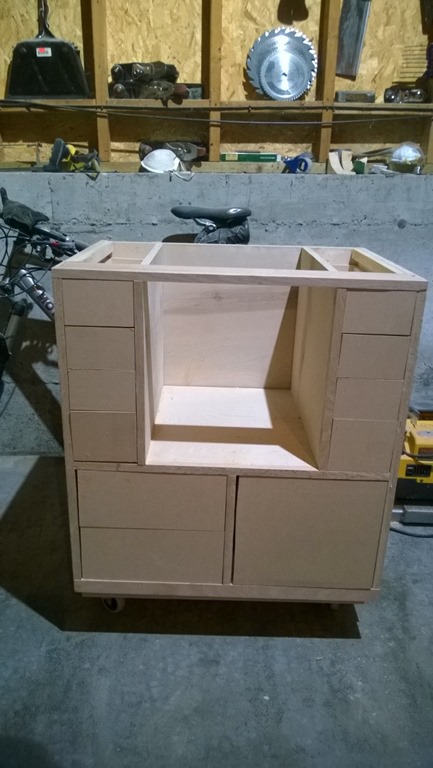
Last two weekends work involved adding a oak face frame to pretty up the plywood edges at the front of the cabinet, creating all the drawer boxes, installing soft close drawer sliders on the lower drawers, and adding drawer fronts.
Face frame – bring on the pretty
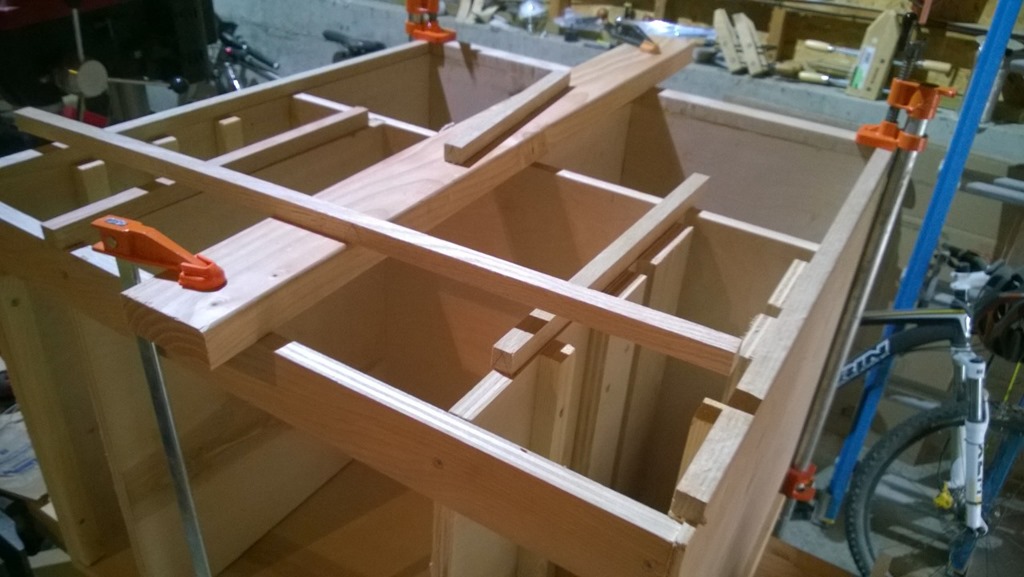 Due to the glue up of the face front oak pieces, this took most of the first weekend… just twiddling my thumbs waiting for one piece to dry
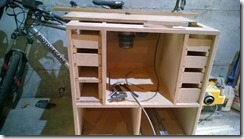
 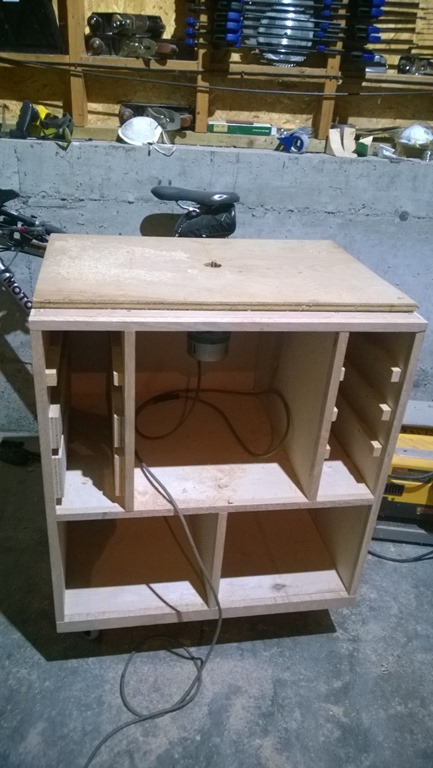 Before adding all the rest of the face pieces…
Drawer and drawer faces
Due to a dead battery on my camera… you won’t get a detailed look at how this all was done, but… was anyone really reading this to follow step by step? :)
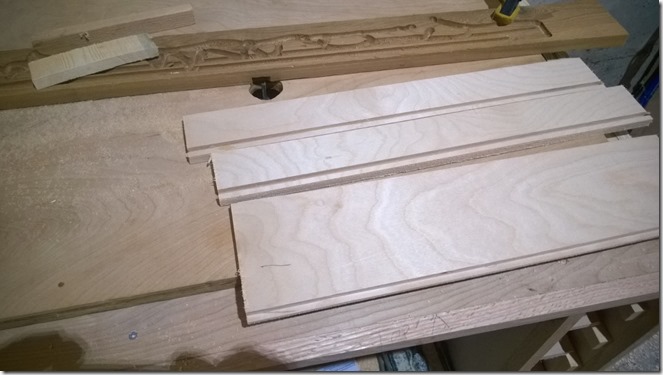
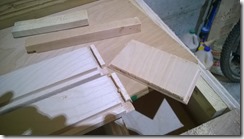
What’s a drawer with out a bottom? A hole that’s what… so let’s start by making drawer bottoms. Basically the construction of the drawers are going to use tongue and groove pieces. The sides are going to have grooves to accept the bottom front and rear of the box. since these last three are all tongue pieces, and all the same width, we can cut a long piece at the same width, and pass this long piece through the router table to create the tongue for all pieces at once. Then this long piece can be cut to length on the miter saw.
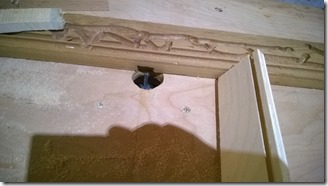
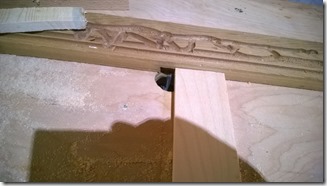
In the picture above, you can see the basic setup for both the tongue and groove cuts to create this.. The tongue is made by setting a 1/2” straight bit 1/4” above the surface of the table, but set 1/4” into the sacrificial fence (with all the scroll work in it) to cut a 1/4”x1/4” piece from the edge of the bottom/face/rear board. The grooves in the sides can next be made in a similar manner, one long piece for all drawers, and a groove cut in the lower edge by using a 1/4” straight bit set 1/4” away from the fence. This sets a 1/4”x1/4” groove at 1/4” off the bottom. A similar groove is placed vertically on the front and rear to accept the faces of the box, this is a bit more difficult to do due to the smaller surface area that will contact the fence, but using a larger board to steady the piece (not shown), it is not difficult at all.
Unfortunately, if you are using a cheaper bit, you can have a bit blow itself up on you! 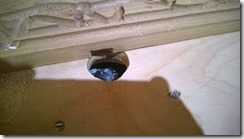
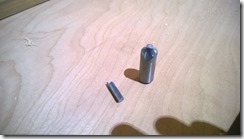
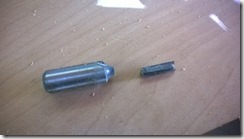
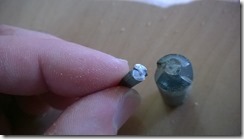
After a quick trip to the hardware store to by a bit that cost 1/2 the cost of the 30 bit set that I owned…. (but hopefully will last more than 1’ of cutting…) I was back to assembling the boxes and glue up.
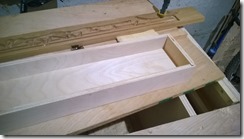
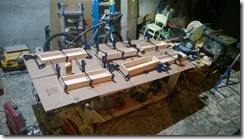
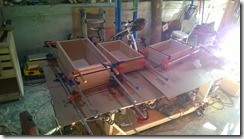
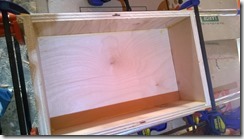
Above is the clamp up of all the little top drawers, and a look at what the drawers look like with out a face…
Side note about the panel cutter…
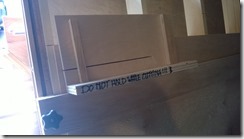
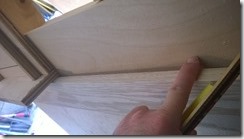 In working on this part of the project, I needed to cut some 1/4” and 1/2” plywood on the panel cutter, which is designed for 3/4”… however I discovered an issue that exists when the straight edge sits slightly above the surface of the panel to be cut. The problem is that the circular saw has a guide that is only 1/4” tall, and thus can slip under the guide board and skew the cut, ruining the board, and actually creating a bit of a dangerous situation. My fix to this is to create a sled of sorts for the circular saw to ride in that has its own fence that is 3” tall, thus easily covering the gap, and also in the process became the new measuring guide for the cut as well.
Faces with out a view
The faces were added without a camera to show the steps… sorry… as I mentioned above, poor battery planning.
Regardless it was not difficult to add. it only took a long time to position the faces in place, and carefully glue them so that they all line up correctly when placed back into the case.
The hardest part actually was the larger bottom drawers that would be in full extension soft close drawer slides. These slides are the hardest thing I’ve done on this project!!! Oh my god, never again. Very cool when completed, but probably not worth the trouble. It does work pretty cool now that it is complete.
Next steps will be creating the drawer pulls, which I decided I’d try to make out of Oak and carve some little finger recesses into it to make it nice. Then the router table top and router fence will come after that.
