Building the ‘Ultimate Router Table’ part three–custom drawer pulls and bit drawers
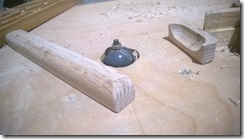
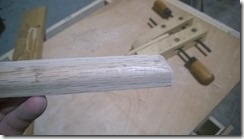
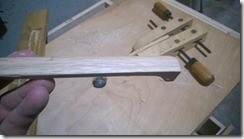
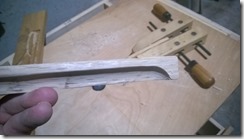
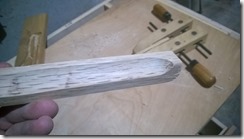
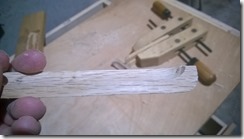
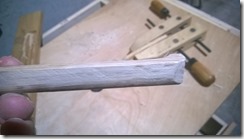
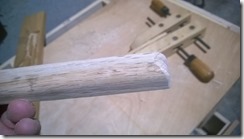
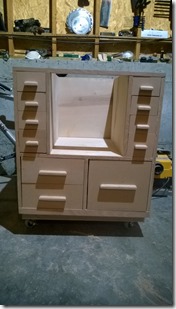
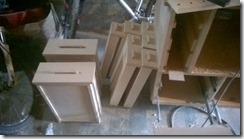
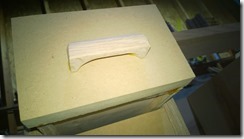
This weekend’s adventure started with a set of closed drawers made last week… so I could take a picture for you all. However, I’d forgotten that I wasn’t going to have an easy time opening them since they had no drawer pulls… have you ever tried to break into a glass safe that you didn’t want to damage? that’s how this felt. ![]() So the options are to buy some pulls from a big box store… or make them. since I have some extra oak left over from adding the face frame to the cabinet, it seemed like that would be a good match to the project. I decided to make them using the router by rounding the top of the front face to soften the finger pulls, and then to use the opposite bit to rout out a hole to grip at the back. I made them three different sizes which match the sizes of the three types of drawers. Most of the work was sanding here, including easing the lower edge to soften the pull area on the fingers.
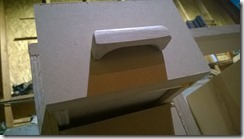
So the options are to buy some pulls from a big box store… or make them. since I have some extra oak left over from adding the face frame to the cabinet, it seemed like that would be a good match to the project. I decided to make them using the router by rounding the top of the front face to soften the finger pulls, and then to use the opposite bit to rout out a hole to grip at the back. I made them three different sizes which match the sizes of the three types of drawers. Most of the work was sanding here, including easing the lower edge to soften the pull area on the fingers.
Then it just takes gluing them to the faces of the drawers, and waiting game.
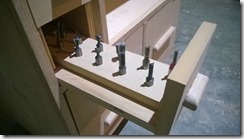
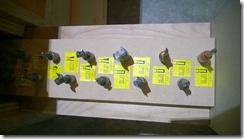
After this, it was to add a piece of MDF to each of the two bit drawers and add 1/2” holes spaced out to accommodate bits. With a few labels for each bit, it is much easier to find and keep bits in order now.
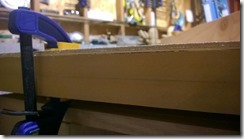
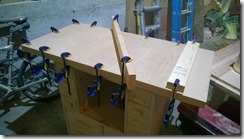
Lastly, since I still had some time, I cut out two pieces of MDF and one of 1/4” birch ply to laminate together for the top of the table. added lots of bracing for glue up and we will be back next week for finishing off the top banding, adding a miter slot and maybe starting on the fence system.
