Building the ‘Ultimate Router Table’ part one
 Once again I find myself making shop equipment to improve a shop that hasn’t yet created but a handful of non-shop items! So much fun to make your own tools though… even more fun than buying a new ‘toy’ for the woodworking shop. (One of which I’ll mention in this post.) This comes right after completion of my wood cart/panel-cutter which got some good work in this project as well.
I use routers A LOT… it was one of my first power tools (besides a basic circular saw) and I had to learn to replicate the actions of more expensive tools with just a router and circular saw… this is quite a good thing to learn, because it teaches you a lot about what those expensive equipment actually does. If you want to know some ways to use your router to supplement purchasing advanced power tools, please send me a comment. I now have some more power tools, but rely on my two routers quite a lot. You will see them used in this project too.
Since buying a nice new plunge router, the older but more powerful router is permanently kept on the underside of a piece of plywood that I clamp to my workbench to use as a makeshift router table when it is needed. This however is a pain, and I find myself reluctant to set it up. Therefore, I found plans at Creston Wood Plans, for a very nice cabinet to attach a much more functional router table to, complete with a very useful fence system and dust collection. Routers make a tremendous amount of dust, so this will save my lungs from clogging with debris.
Part one will be building the ‘carcass’ of the cabinet. All this means is the basic shape of the cabinet, minus the top, drawers, door, wheels, and even finish trim. This part takes most of the time due to having to be really careful with the measurements that will be the success or failure later on. It also is the part that is much more difficult to glue up once all necessary parts are cut out. This is due to having to glue all joints, assemble them all uncooperatively, and somehow clamp them up before they come apart. This all has to be accomplished in under 5-10min or the glue will dry before the joint is made.
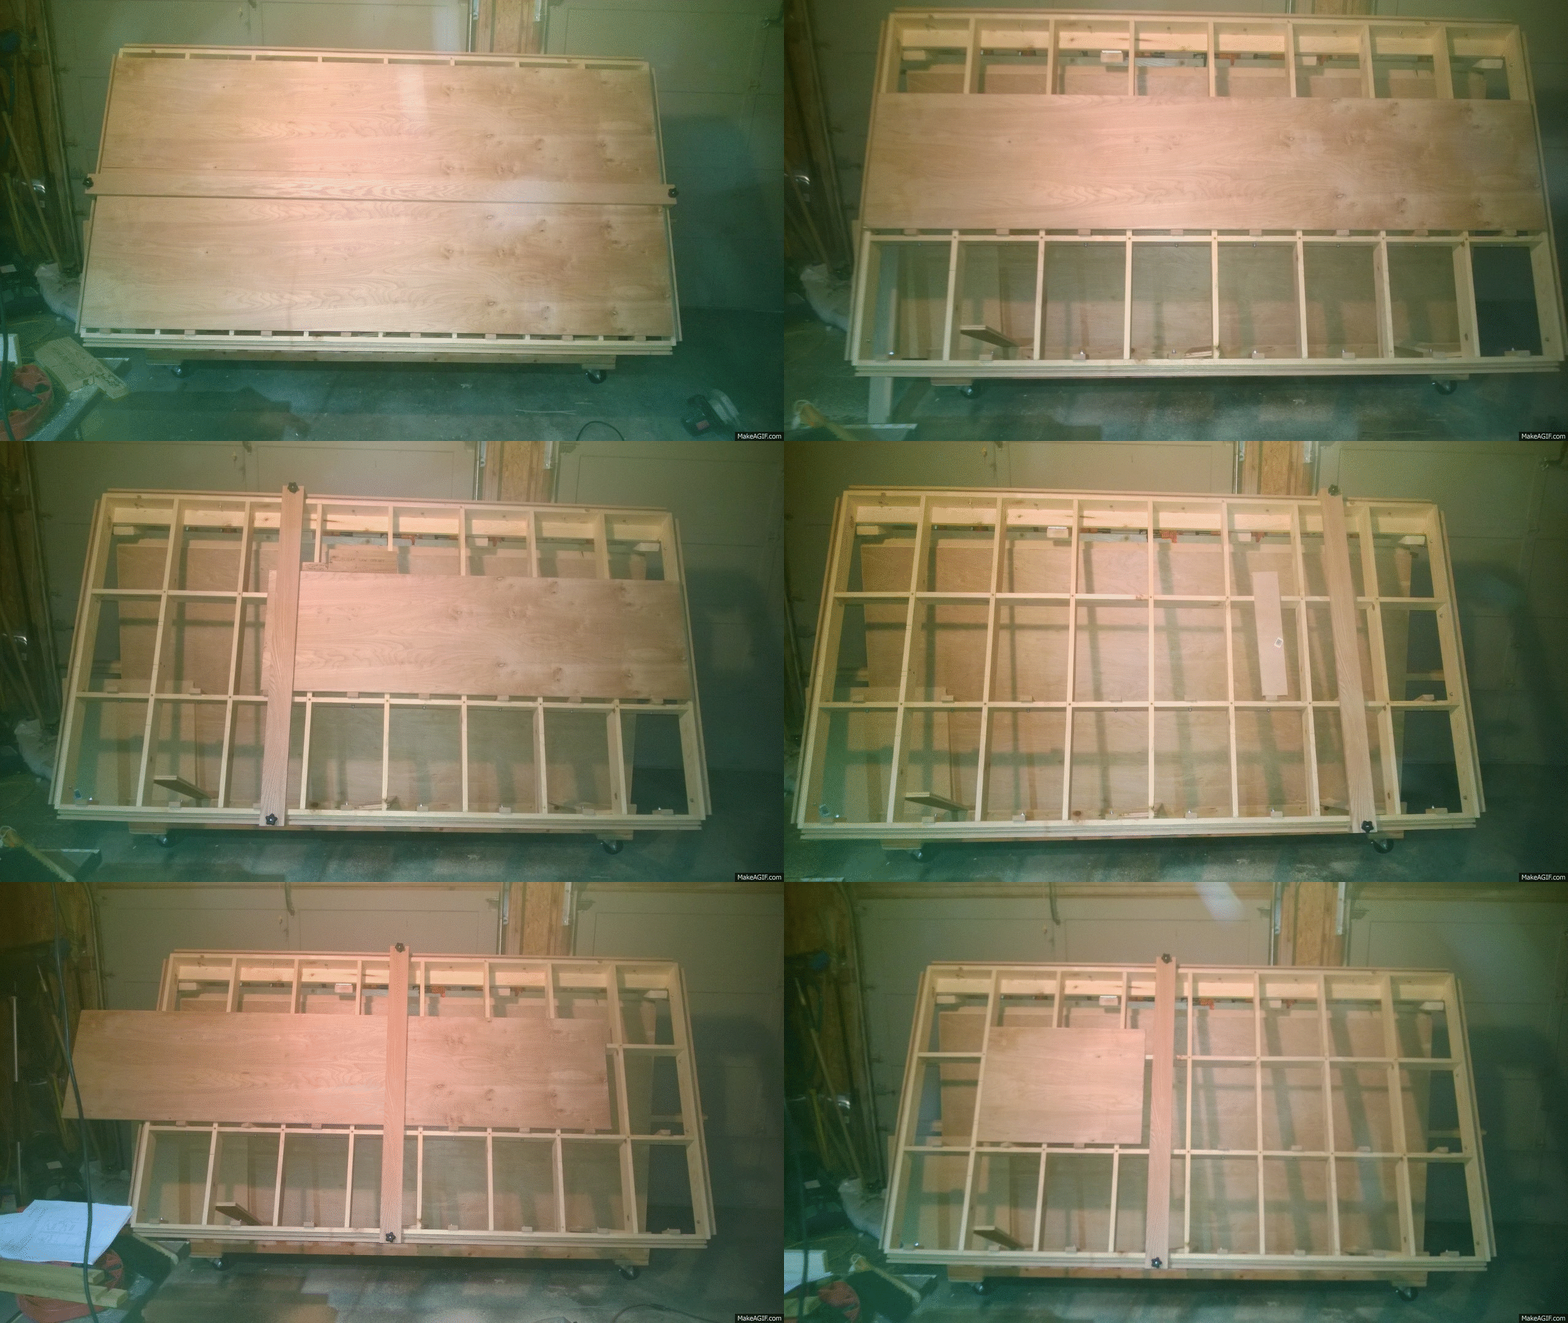
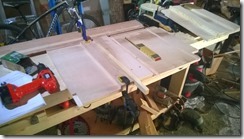
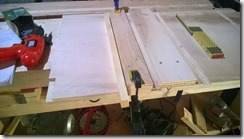
First let’s play with our new panel cutter to slice the 3/4” plywood into the sides, back, shelves and separators. Here’s a nice little gif animation to amuse you with the process:
Which will get you a nice little pile of carcase pieces to process.
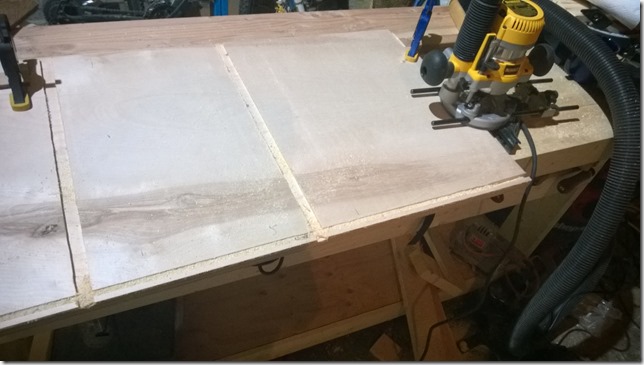
First step of processing the pieces is to add dados to accept the adjoining parts. Such as each side needs two dado’s to receive the shelves. A dado is simply a trough cut into the piece that is the same width of the piece to be joined, allowing the joined piece to fit nicely inside and simply be glued, normally with no need for extra screws etc.. 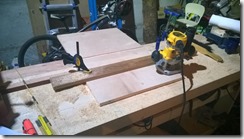
This is done easy with a router, attaching a straight bit of the same width as the dado, and clamping a straight edge (give extra room for the distance from the bit to the edge of the router plate. Setting the depth of the bit on the router to the depth needed and running it across the piece keeping it tight to the straight edge as a guide will create the dado nicely.
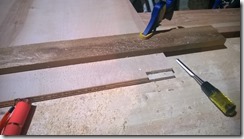
This method can also be used to create the half blind joint to accept the cleat at the edge of the top face of the cabinet. This joint will need to be chiseled at the inside edge due to the rounded bit leaving a round edge rather than a nice square face needed to mate with the cleat. To make the small dado used to accept the back panel could be done this way, but I chose to instead use a fence attached to the router to provide a nice consistent groove, as well as a similar tongue on the back panel itself. This could also be done easily on a router table… but that’s what we are making so it seems kind of too meta to do that :)
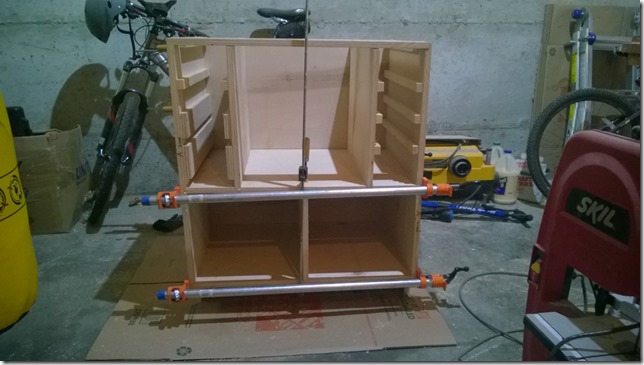
Next step is to lay out the drawer guides, not the sliders but the non-mechanical ones that the smaller drawers and bit holders ride on. The reason this is done is that the space they occupy is only 6” wide, and not enough room to allow this to be accomplished after the carcass is assembled.
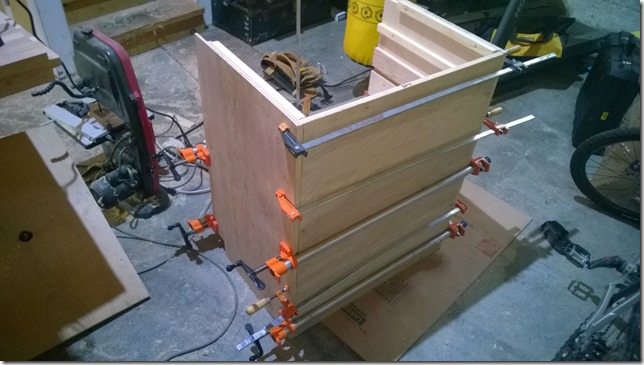
One important step is to ensure that the rails are perfectly aligned, or else the drawers are going to bind. To set each perfectly quadruple check each measurement, or use an offset piece to ensure that the spacing on both sides of the drawer will be exactly the same. Next step is glue up and assembly… which is like juggling cats in this case… in my experience it fell apart right after I’d got it assembled, and the clamps weren’t on yet. Second time was a charm, but right at the edge of time limit for the glue.. so …fingers crossed.
Use of clamps is important.. add one to any place where an axis exists for a joint. I added a center one for the middle divider, and then horizontally for each shelve back and front. Additionally I added a few at the back to make sure the back panel snuggly glues at the tounge and groove provided by the sides.
Next week we’ll work on adding the face trim to make it all nice and pretty, as well as adding the 3” caster wheels I picked up to day to get this thing on the move. After that, the top and super fence… then on to making nice drawers.
Cheers!
