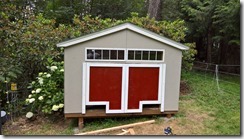
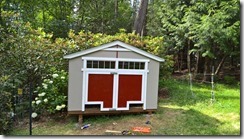
BeeHut part 2
So a lot of time has passed since part 1 of the beehut build went out to you all, but I promise we completed the project soon after… about June 20th of last summer. The bees have loved the spot… tons of growth and activity in the shed. There has been no more bear attacks to date, and no signs of any attempt at that either!</p>
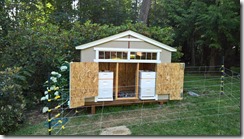
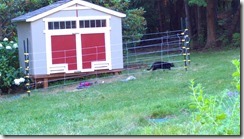 <p>As you can see from the next shot the design was done to match the shed opposite the lawn.</p> <p>
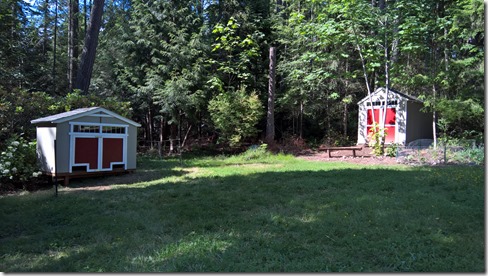 </p> <p>One thing happened in between the two posts… I’d made the design to use the height of a full sheet of plywood on the sides. However as soon as I had the framing up, I called an expensive audible. I saw that the rhododendron behind the hut would be totally obscured with that height. So I decided to pull up each wall, and take a circular saw to the last 2’-0’’ to reduce the overall height. And since I had already cut out the plywood sheathing and the door cutouts in them, this was pretty difficult to remedy as well. It took about 1-1/2 hrs to make this change, but other than that the rest of the build went very smoothly. </p> <p>I decided not to yet cut the ‘closets’ in the side facing the house yet, and this was a good idea, because I find them completely unnecessary. Storage inside the hut is easy to reach from the door way, and it makes for a cleaner look.</p> <p>In an upcoming post, I’ll show you what I did to accomodate a third hive. This was necessary due to one of the hives swarming… us catching it… and making a completely separate hive. In that post I’ll tell the story of my first successfull swarm catch, mistakes made and what I’ll do different in the future.
