TOW: Sweet and Sticky Scrolling in Visual Studio and Code
 A new[ish] feature to Visual Studio and VS Code has made me very happy…. but it is OFF by default. You should probably be using this if you are editing code with large nested blocks, such as C++ cpp files with namespaces, methods with nested if/loop/switch etc. This feature will keep you grounded to navigate your file with ease.
The “Sticky Scroll” feature in Visual Studio helps you stay oriented while working with large code files by keeping relevant headers in view as you scroll. The feature was added to Visual Studio 2022 version 17.5 and later, but you will need to open the settings panel to enable it for your language.
Where am I now?! I want to go home
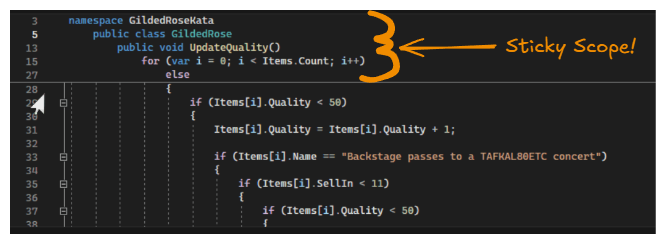
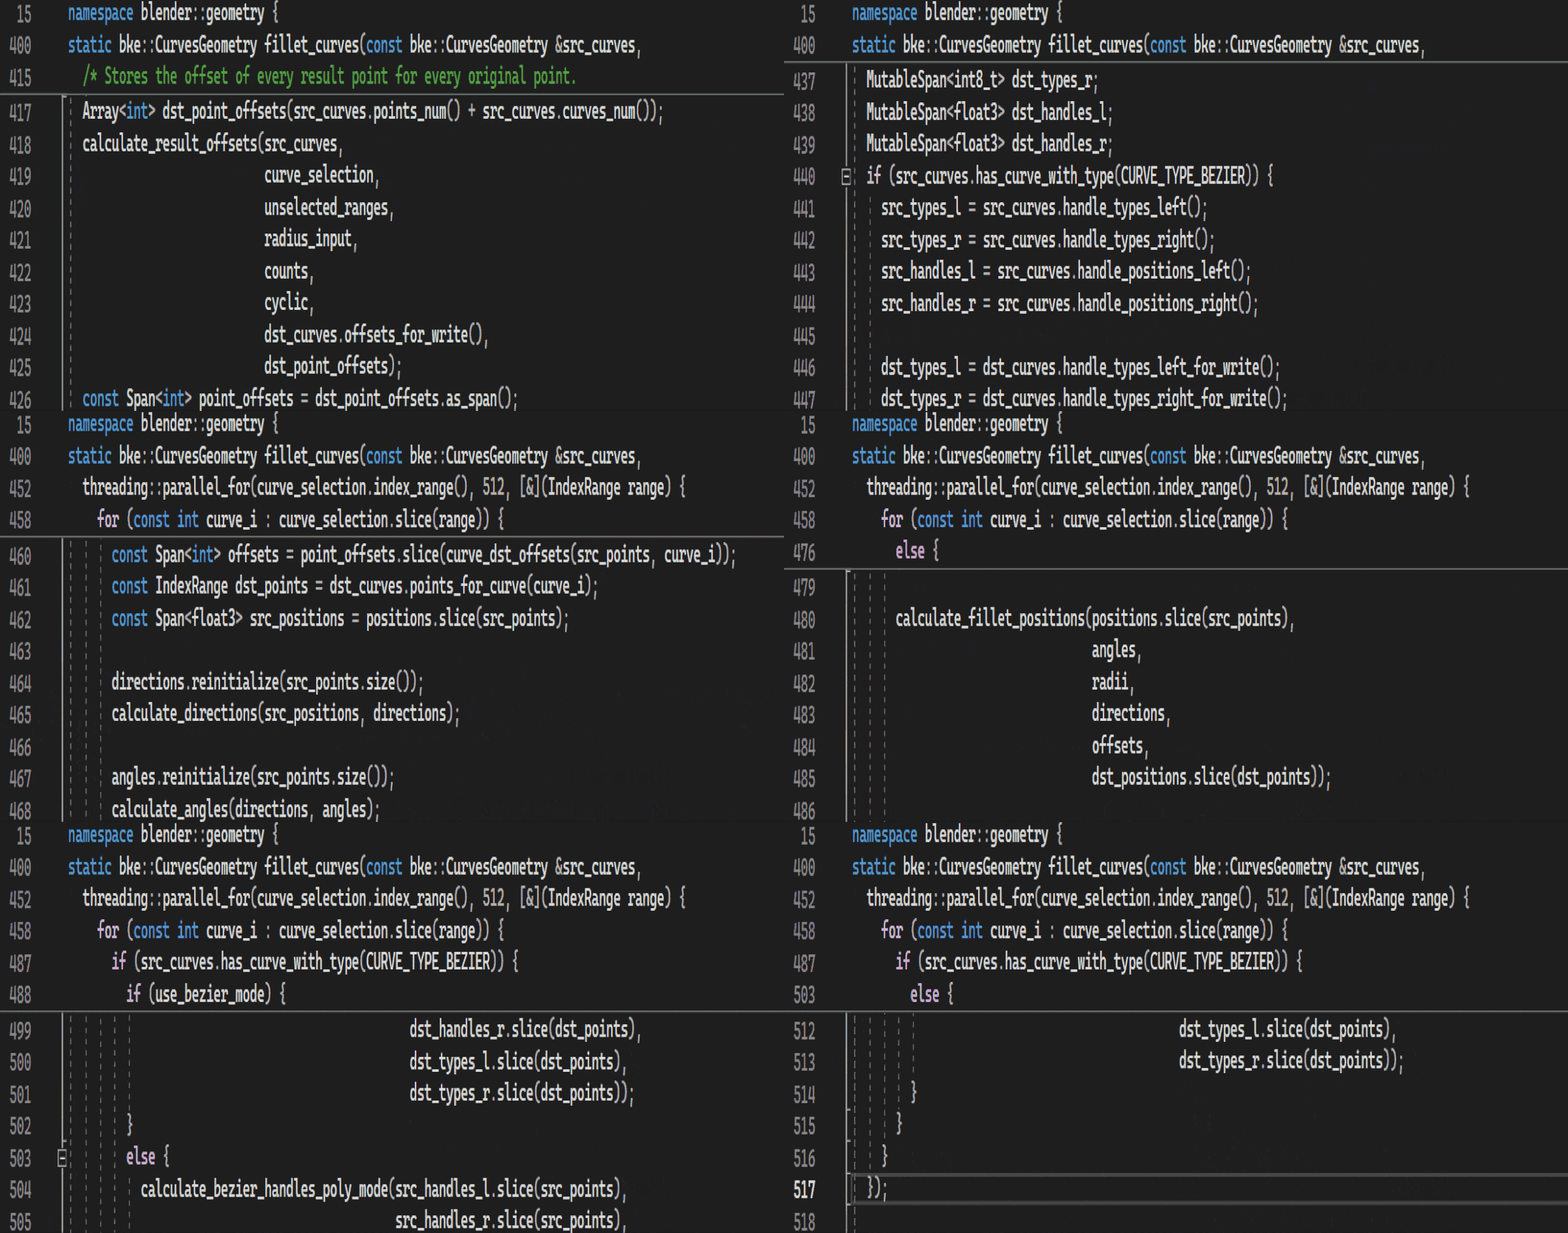
The main benefit to this feature is that it ‘freezes’ the outer scope of the block you are at the top of the editor. This line is also a link to allow you to click on it and jump to the top of that block. Each subsequent block gets a line frozen below as you scroll down the file. This allows you to see a hierarchical group of lines at the top of the editor to always let you know what block you are editing, and allow you to navigate between them. It is similar to the breadcrumb features you see in websites, but with all the details displayed on each line. 
In a large file, or one with a confusing set of nested items, especially when they all are named similarly, this is incredibly useful to keep you grounded in your work. No longer are you ‘lost’ in the file spending time scrolling up to see what name you had used for a parameter, or if you made it a const ref or not. You will be able to see it directly, or if editing is needed hop back to make the edit.
Turn Sticky Scroll on or off
Use the following steps:
- From the Visual Studio menu bar, select Tools > Options > Text Editor > General.
- In the Sticky scroll section, select, or unselect, the Group the current scopes within a scrollable region of the editor window option.
- Select OK.
Don’t tell me what I already know!
There are a few features that are nice in the settings while you are there. Mainly the scoping setting for Sticky Scroll. One is that you can set it to focusing on either inner or outer scopes, as well as the max level of scopes to show. Default for the max is between 5 and 7 depending on the editor type.
Depending on your preference, you can adjust what Sticky Scroll displays. By default, the outer scope option is set to show higher-level scopes from the top of the file. This is the setting most people will prefer.
However, there are times when the namespace and class name are the same as the file name. In such cases, you might not want to sacrifice two lines of vertical space at the top of your file. To address this, you can switch to the lower-level inner scope option, which will push out higher-level scopes as you scroll through deeply nested code.[^1^](#more-info)
Models
You can choose between three different models to determine which lines to display in the Sticky Scroll area: Outline Model, Folding Model, and Indentation Model.
Here’s a brief overview of each:
Outline Model: This model uses the code’s structure to determine the sticky lines2 . It sticks scopes like namespaces, classes, methods, and conditionals3 . It’s great for languages with clear structural elements.
Folding Model: This model uses the code’s folding regions to determine the sticky lines2 . It sticks the start and end of foldable regions, such as methods, classes, and blocks3 . It’s useful for languages where folding regions are well-defined.
Indentation Model: This model uses indentation levels to determine the sticky lines2 . It sticks lines based on their indentation, which can be helpful for languages where indentation is significant for code structure.
Each model has its own way of defining what gets “stuck” at the top of the editor, so you can choose the one that best fits your coding style and the languages you work with.
More info
See more info about the feature on the official VS blog
I find this feature incredibly useful, and hope you discover it as such. Congrats VS team, great addition.
